Introduction
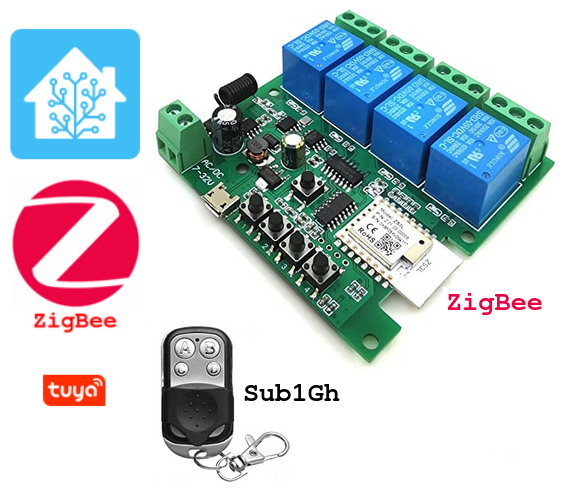
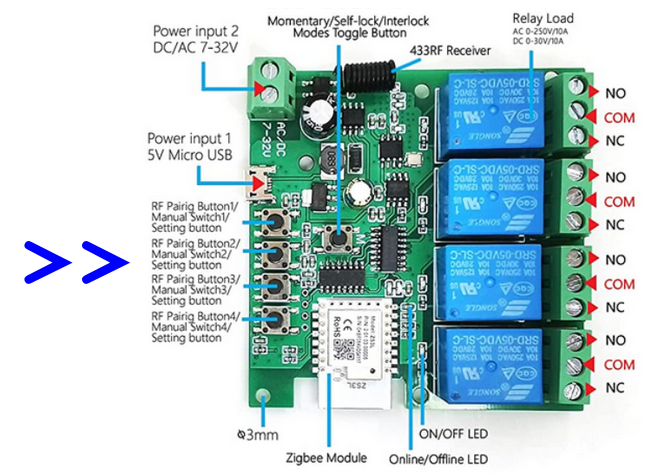
The 4 relay ZigBee board is ZigBee and Sub1Ghz compliant.
The 4 relay ZigBee board is based on this ZigBee ZS3L module, the datasheet is here.
The quick reference guide is here.
Overview
Compliant to…
This board is compliant with Home Assistant, we tested it in conjunction to the ConBee II (Zigbee universal USB gateway).
In the sales package there is also a Sub1Ghz radio control with which the 4 relays can be controlled.
Pairing to Home Assistant
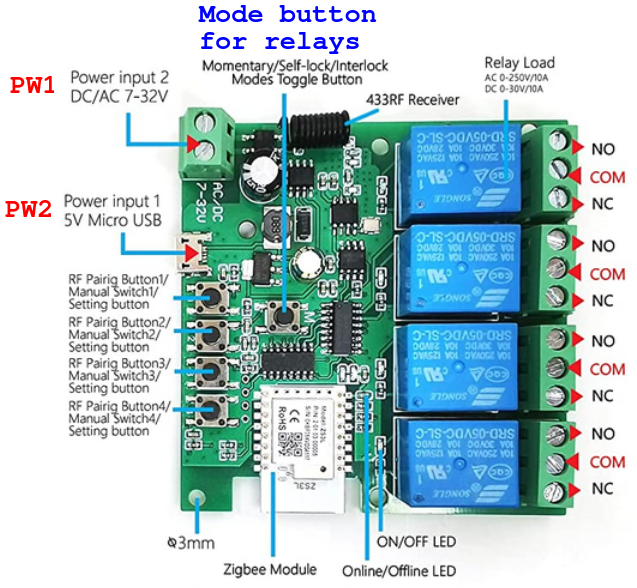
- Power the board via PW1 or PW2 and run deCONZ (in your Home Assistant). For more info regarding deCONZ and ConBee II see here.
- From deCONZ page select Phoscon and tap on the 3 horizontal line on top left, see below.

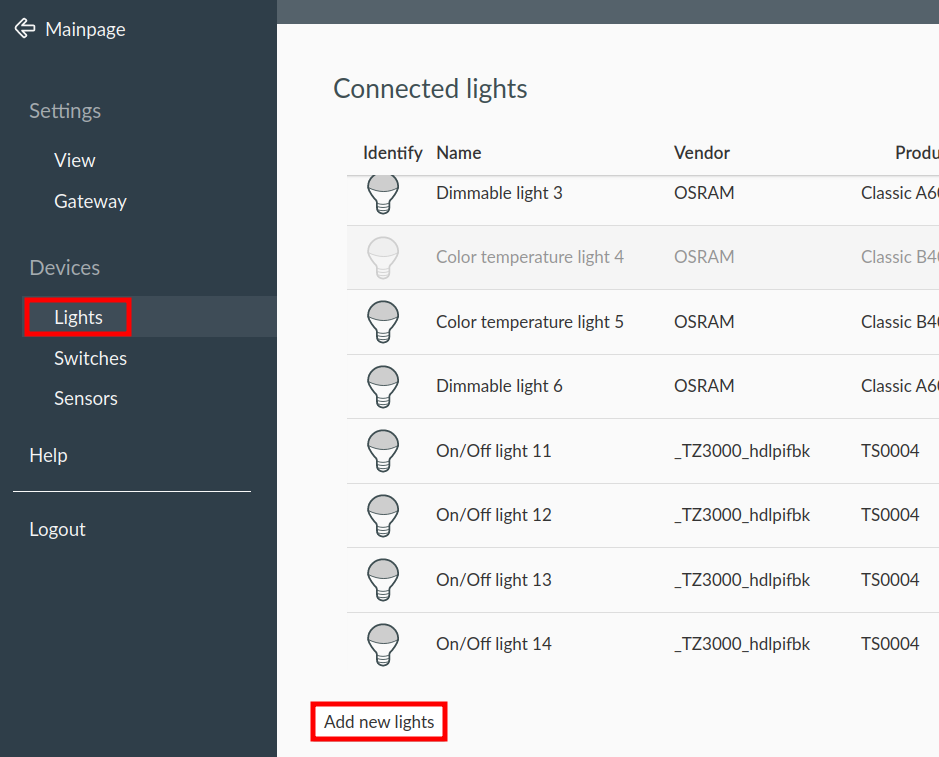
- From the new page that appears select Lights and Add new lights, see below.
- Now is start the auto search of the new ZigBee device, during this time, normally is 3 minutes, press some relays control buttons, see below.
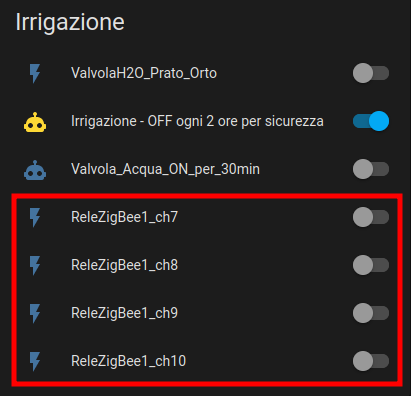
- At the end of the auto search you must see something like below.
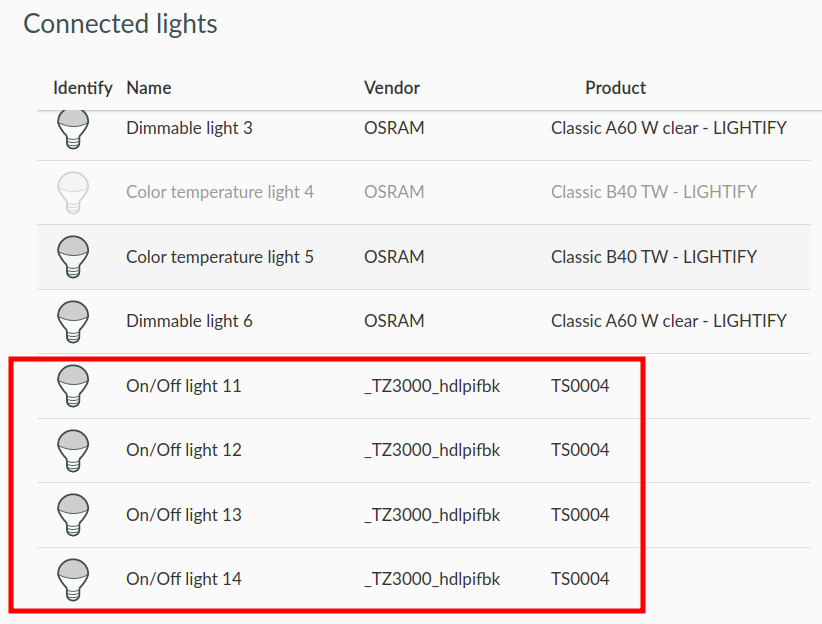
- Of course, you can change the name for match that are relay and not lights, see our setup below.