
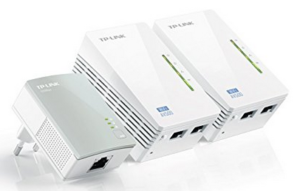
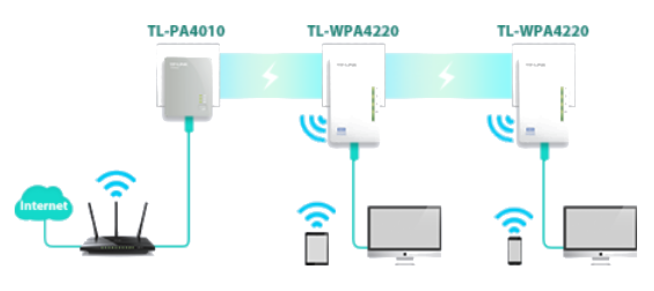
Inside the TL-WPA4220T KIT there are:
One TL-PA4010
Two TL-WPA4220
For configure this kit follow the steps below.
- Connect all the accessories on a power supply and waiting 2 minutes.
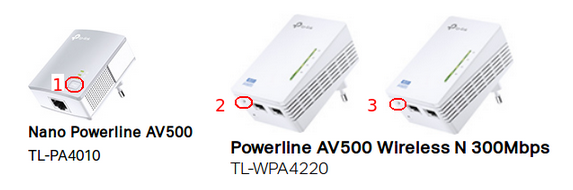
- Now, press the button 1 for 1 second (on the front face of the TL-PA4010) and you must see the power led start to flashing.
Next press the lateral button 2/3 present on the TL-WPA4220 and again the power led start to flashing.
- Now waiting that all leds stop to flashing.
Repeat the sequence for the second TL-WPA4220
Now PLMs are connected to each other. - For cloning your WiFi network do this.
Start your Internet ADSL modem in WPS mode and next press for 1 second the WPS button on your TL-WPA4220 (see below).
On your TL-WPA4220 you must see the LED near the WiFi icon that flashing slow.
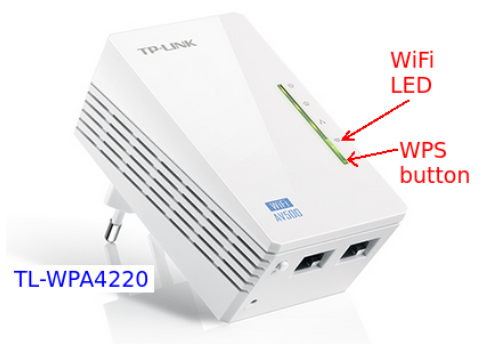
- After 20/30 seconds, the WiFi LED lights up and stays solid, this indicate that the cloning of the WiFi network has been successful.
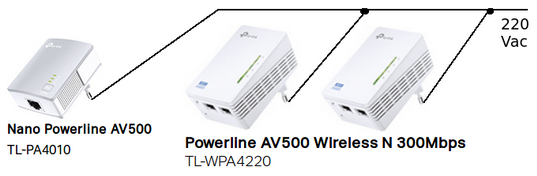
- Now connect your TL-PA4010 via RJ cable to your Internet ADSL modem and connect also your TL-WPA4220 in the room that you need to cover with Internet signal. See below.
Here there is a video tutorial in Italian language.