This is a simple tutorial that explain how to configure Home Assistant for send a message to Telegram for use in our Automation.
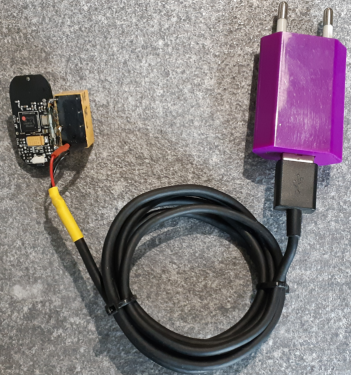
In this example, at the end, we show how to monitor the presence of the 220Vac using a Xiaomi Mi Windows and Doors Sensor with a simple modify.
The steps that you must to do are explained below
Create a bot on your Telegram
First you need to create your own bot (short for Robot) from Telegram.
On your phone open Telegram and search: botfather
see below.
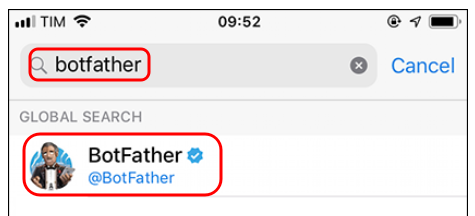
Now select it (botfather) and press START (in the bottom of the phone screen).
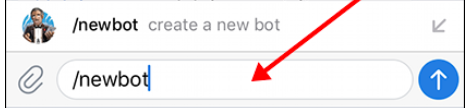
In the box where you write the text, type:
/newbot
see below.
Botfather will ask to write a name and if it is available botfather will ask for the final name which must end with:
_bot
For example: HAhome_bot
HTTP API key
At the end of this procedure Botfather will answer us with a series of parameters including the HTTP API key that we have to save, see example below.

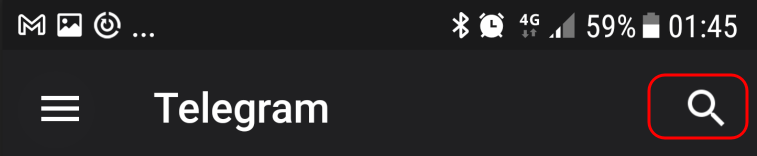
Search the created Bot
Exit from the Botfather and search in your Telegram the bot that you has created, in our case HAhome_bot
Enter in HAhome_bot and send a message that you want, for example CIAO, send a message is very important to start properly your bot.
Chat ID
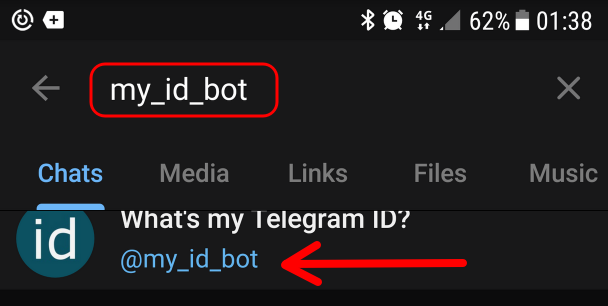
To get the Chat ID from your mobile or tablet or etc, enter on your TELEGRAM and search for: my_id_bot
select my_id_bot
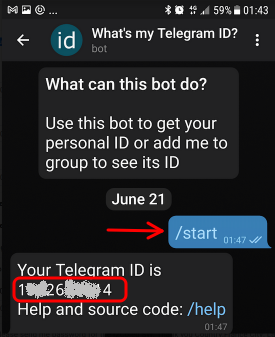
and write:
/start
which will return our Chat ID, now save it
see below.
Implement the Telegram platform on Home Assistant
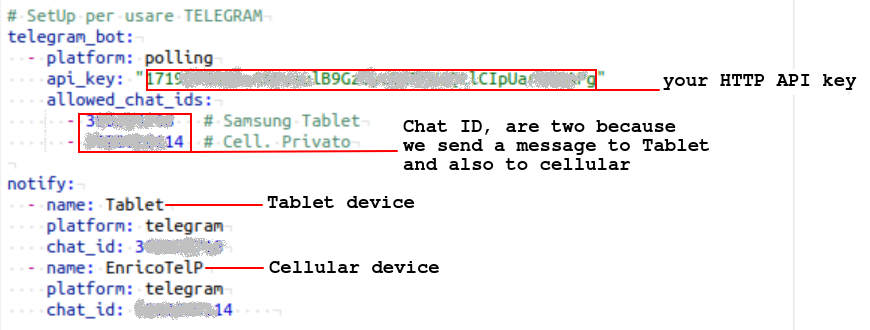
Now in Home Assistant edit the:
configuration.yaml
and insert at the end of file the lines below.
Now we are ready to write a first Automation that use Telegram
Automation & Telegram
Our example monitor the power supply of home, in our case 220Vac we use the Xiaomi Mi Windows and Doors Sensor (ZigBee) (for more info see here) with a little modification of hardware see here.
the basic concept is that we use a CALL SERVICE to communicate the state of XIAOMI via TELEGRAM, again see here.